Gluten-Free Almond Flour Cookies: Healthy & Delicious!
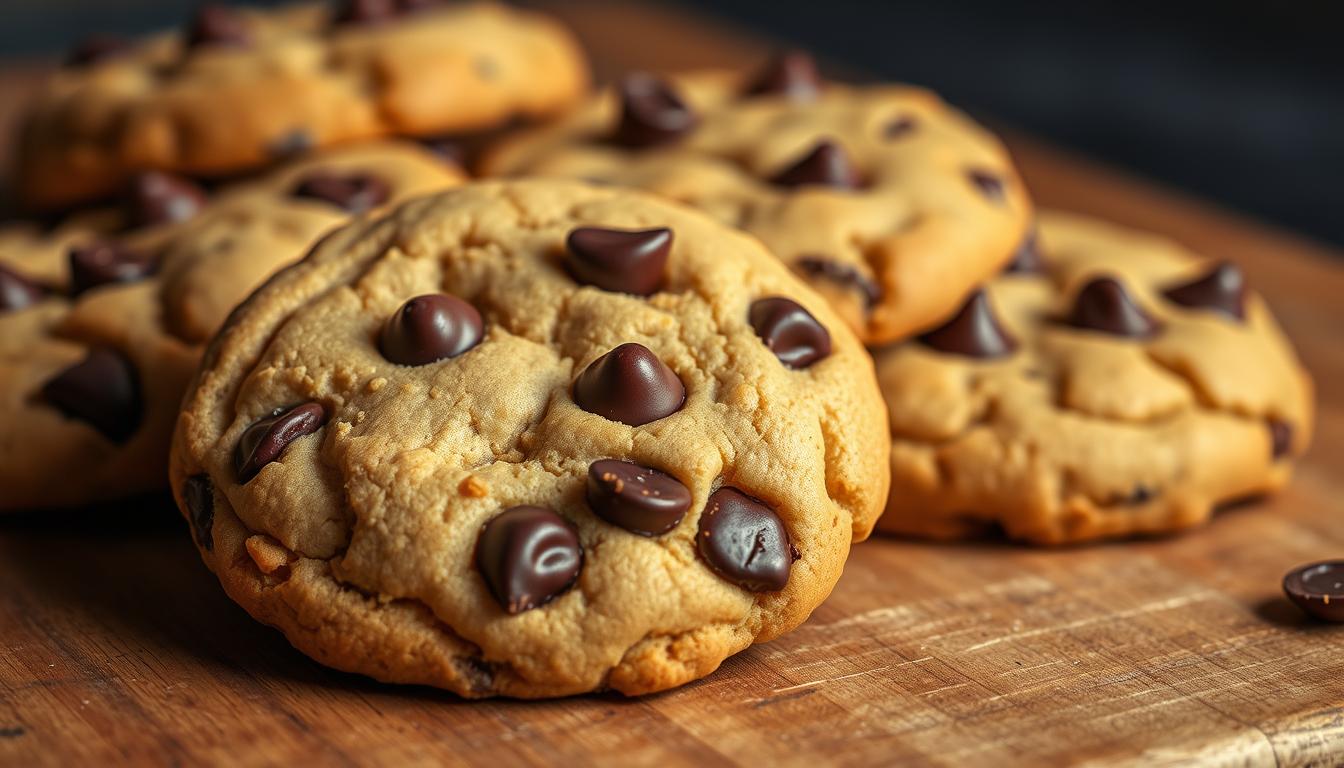
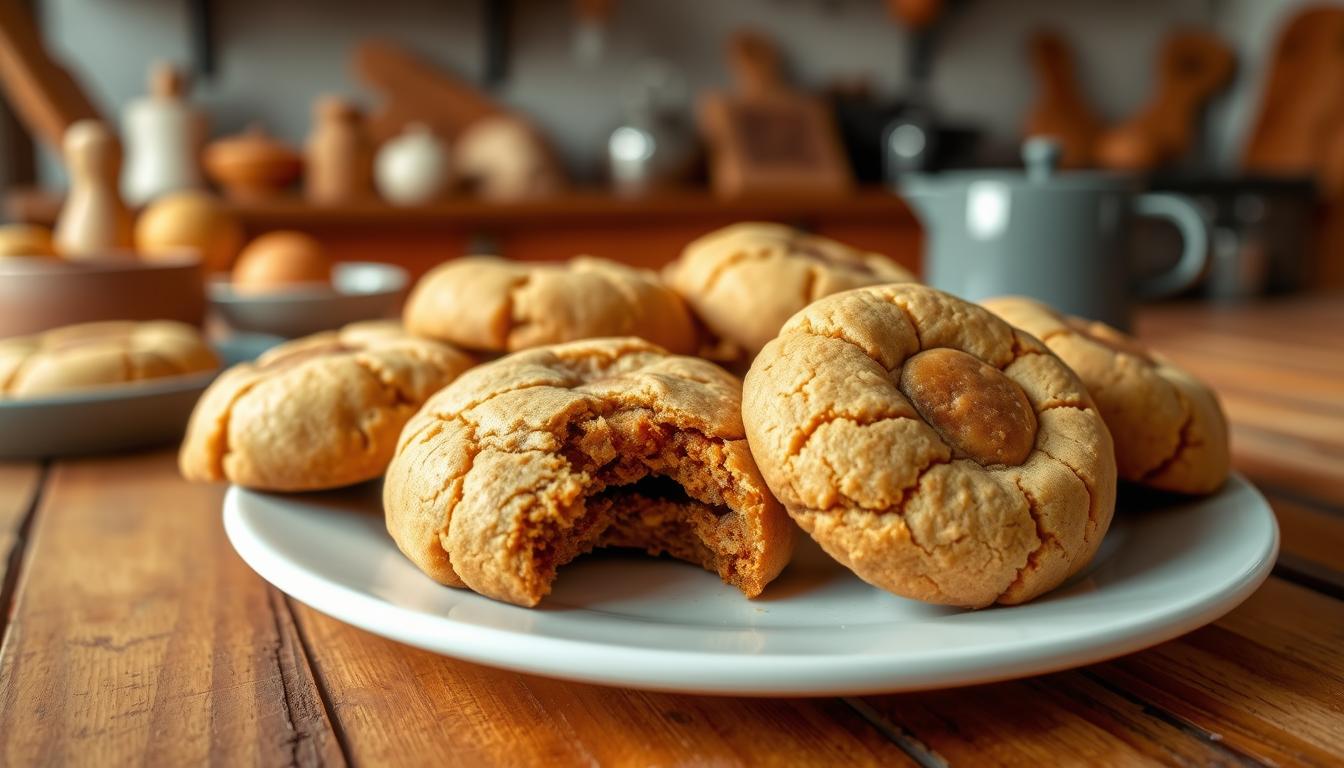
Have you ever craved a sweet treat that’s both indulgent and wholesome? Imagine biting into a soft, chewy cookie that’s packed with flavor yet free from refined sugar and grains. These almond flour cookies are here to satisfy your cravings without compromising your health goals.
Made with simple, natural ingredients, this recipe is perfect for anyone looking for a healthier alternative to traditional treats. The best part? You don’t need to wait for the dough to chill. In just about 15 minutes, you can have a batch of warm, delicious cookies ready to enjoy.
Whether you’re baking for yourself, your family, or a special occasion, these cookies are a crowd-pleaser. They’re thick, soft, and have just the right amount of crispness at the edges. Plus, they’re versatile—feel free to add your favorite mix-ins like chocolate chips or nuts for a personalized touch.
Key Takeaways
- These cookies are made with natural, grain-free ingredients.
- No chilling time is needed—ready in just 15 minutes.
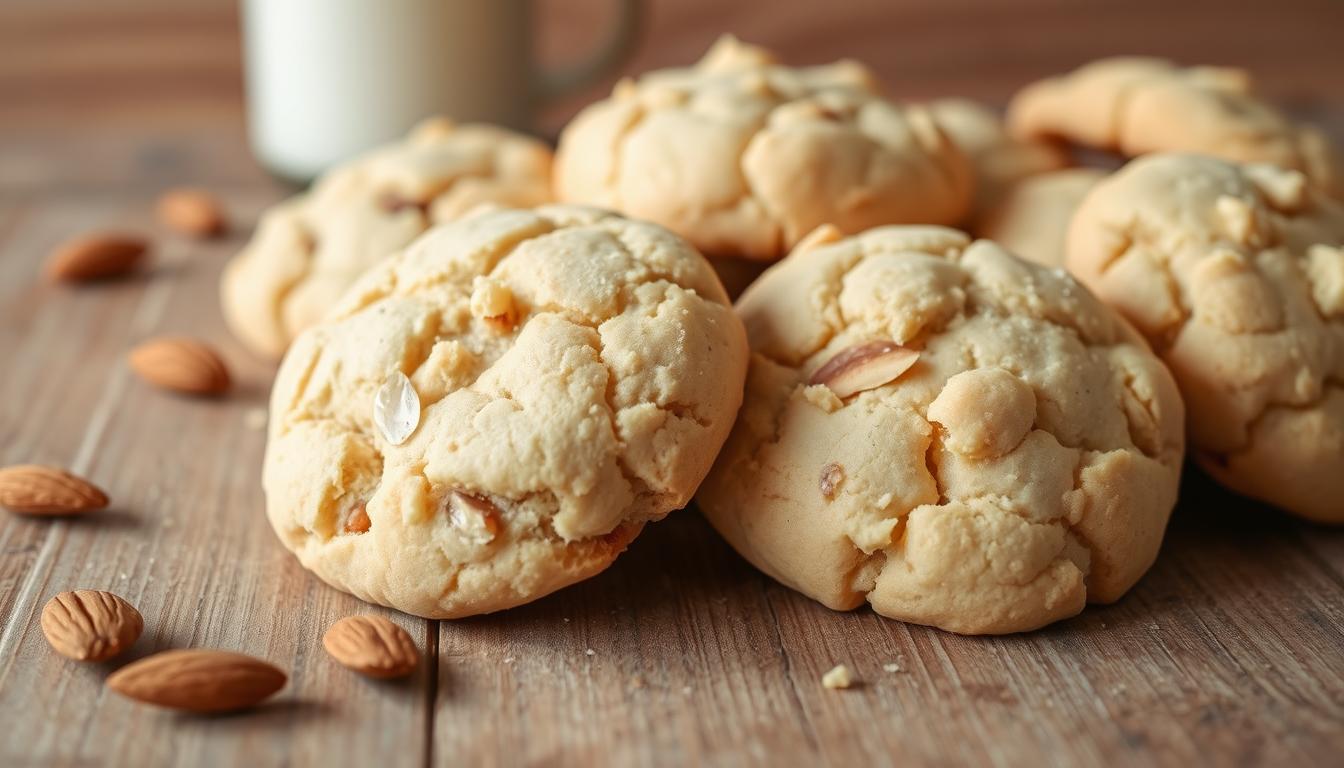
- Blanched almond flour ensures the best texture and color.
- Perfect for quick baking sessions or last-minute treats.
- Customize with add-ins like chocolate chips for extra flavor.
Introduction to Gluten-Free Almond Flour Cookies
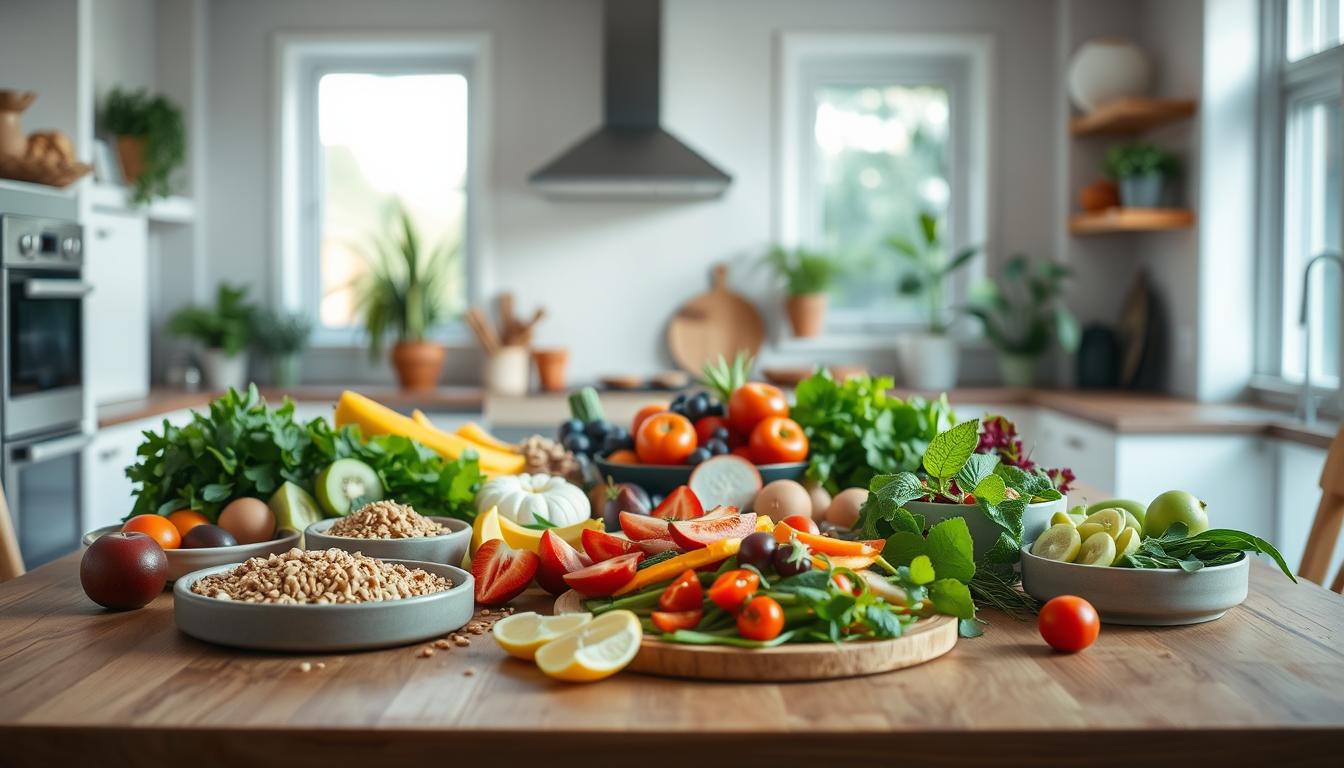
Why settle for traditional when you can bake smarter? Over the past decade, gluten-free baking has surged in popularity across America. More people are embracing grain-free alternatives for their health benefits and unique flavors. Among these, almond flour has emerged as a standout ingredient.
Understanding the Benefits of Almond Flour
Almond flour is not just a substitute; it’s an upgrade. Packed with protein and healthy fats, it’s a low-carb alternative to traditional white flour. Unlike refined grains, almond flour retains its natural nutrients, making it a favorite among health-conscious bakers.
“Almond flour adds a rich, nutty flavor and a moist texture to baked goods, making it a versatile choice for both sweet and savory recipes.”
Here’s a quick comparison of almond flour vs. traditional white flour:
| Feature | Almond Flour | White Flour |
|---|---|---|
| Protein Content | High | Low |
| Carbohydrates | Low | High |
| Healthy Fats | Yes | No |
The Rise of Gluten-Free Baking in America
The demand for gluten-free recipes has skyrocketed, driven by dietary preferences and health trends. From vegan to Paleo diets, almond flour has become a go-to ingredient. Its ability to create soft, chewy textures has revolutionized cookie recipes, making them both delicious and nutritious.
Whether you’re baking for yourself or a crowd, almond flour offers a healthier, tastier option. With its rich flavor and nutritional benefits, it’s no wonder this ingredient is here to stay.
Ingredients & Essential Tools for Your Almond Flour Cookie Recipe
Ready to bake something delicious and nutritious? The secret to perfect cookies lies in the ingredients and tools you use. Let’s break down what you’ll need to create a batch that’s both healthy and satisfying.
Key Ingredients: Almond Flour, Baking Agents, Sweeteners, and More
Start with blanched almond flour. It’s finer than almond meal, giving your cookies a lighter texture and better color. Combine it with baking powder to ensure they rise perfectly. For sweetness, opt for natural choices like maple syrup or coconut sugar. These add flavor without refined sugars.
Don’t forget the basics: softened butter, vanilla extract, and a pinch of salt. These enhance the taste and balance the flavors. If you’re feeling adventurous, toss in some chocolate chips or dried fruit for a fun twist.

Must-Have Equipment and Baking Tools
Accurate measurements are crucial. Use a sturdy mixing bowl and precise measuring cups and spoons. Line your baking sheet with parchment paper to prevent sticking and ensure easy cleanup.
A reliable oven is key. Preheat it to the right temperature for even baking. Finally, store your cookies in an airtight container to keep them fresh for days.
“The right tools and ingredients make all the difference in baking. Precision and quality lead to perfection.”
With these essentials, you’re all set to create cookies that are soft, chewy, and full of flavor. Happy baking!
Step-by-Step How-To: Mixing, Shaping, and Baking
Ready to transform simple ingredients into a delightful treat? Follow these easy steps to create a batch of cookies that are both healthy and delicious. With precise measurements and a little patience, you’ll have warm, chewy cookies in no time.
Prepping Your Ingredients and Preheating the Oven
Start by gathering all your ingredients. Measure out blanched almond flour, baking powder, and a pinch of salt in a mixing bowl. In a separate bowl, combine softened butter, maple syrup, and vanilla extract. Preheat your oven to 350°F (175°C) and line a baking sheet with parchment paper.
Mixing and Folding in Chocolate Chips
Gradually add the dry ingredients to the wet mixture. Stir until just combined to avoid overmixing. Gently fold in chocolate chips to ensure they’re evenly distributed. This step preserves the thick, chewy texture of your cookies.

Shaping, Baking, and Cooling Your Cookies
Scoop the dough into tablespoon-sized balls and place them on the prepared baking sheet. Space them evenly to allow for proper rising. Bake for 12-15 minutes, or until the edges are golden. Let the cookies cool on the pan for 5 minutes before transferring them to a wire rack.
Here’s a quick troubleshooting guide to help you achieve the perfect batch:
| Issue | Solution |
|---|---|
| Too dry | Add a teaspoon of milk or water to the dough. |
| Too flat | Chill the dough for 10 minutes before baking. |
| Overbaked | Reduce baking time by 1-2 minutes. |
With these tips, you’ll master the art of baking cookies that are soft, chewy, and full of flavor. Enjoy your freshly baked treats!
Gluten-Free Almond Flour Cookies: Expert Tips for Texture & Flavor
Want to bake cookies that are both soft and crispy? Here’s how to nail the perfect texture. Achieving the ideal balance between a chewy center and crisp edges requires a few expert techniques. Let’s dive into the strategies that will elevate your baking game.
Achieving a Chewy, Soft Center with Crisp Edges
Start by managing your dough temperature. If your butter is too warm, your cookies may spread too much. For a chewy center, use softened butter but not melted. Refrigerate the dough for 10 minutes before baking if it feels too soft.
Precise baking times are crucial. Check your cookies a minute before the recommended time to avoid overbaking. They should look slightly underdone in the center when you take them out of the oven. This ensures a soft, chewy texture as they cool.
Proper mixing techniques also matter. Overmixing can lead to dense cookies. Gently fold in your ingredients to trap air, which contributes to a light, tender finish. If you’re adding chocolate chips, distribute them evenly for consistent flavor in every bite.
Avoiding Common Baking Pitfalls
One common issue is flat cookies. This often happens if the dough spreads too much. To fix this, chill the dough briefly before baking. Using fresh baking soda also helps maintain the right texture.
Another pitfall is incorrect ingredient measurements. Too much sugar can make your cookies overly crisp, while too little can leave them dry. Use precise measuring tools to ensure accuracy.
Here’s a quick troubleshooting guide to help you avoid these issues:
| Issue | Solution |
|---|---|
| Flat cookies | Chill dough for 10 minutes before baking. |
| Dry texture | Add a teaspoon of milk or water to the dough. |
| Overbaked edges | Reduce baking time by 1-2 minutes. |
“The key to perfect cookies lies in the details—temperature, timing, and technique.”
With these tips, you’ll be able to bake cookies that are soft, chewy, and full of flavor. Happy baking!
Recipe Variations and Creative Twists
Looking to add a unique twist to your baking routine? This recipe is incredibly versatile, allowing you to experiment with flavors and adapt it to suit different dietary needs. Whether you’re craving something rich, fruity, or crunchy, there’s a variation for everyone.
Flavor Boosts: Adding Chocolate, Raisins, or Trail Mix
For a decadent treat, fold in extra dark chocolate chips or chunks. The melted chocolate creates pockets of gooey goodness in every bite. If you prefer a fruity twist, try adding soaked raisins. Soaking them in warm water for 10 minutes ensures they stay juicy and plump.
For a crunchy texture, mix in a handful of trail mix. Nuts, seeds, and dried fruit add a satisfying crunch and extra nutrition. Just be mindful of the additional weight—adjust baking times slightly to ensure even cooking.
Adapting the Recipe for Vegan or Paleo Diets
If you’re following a vegan diet, swap out eggs for a flax egg or applesauce. Use dairy-free butter to keep the recipe plant-based. For Paleo enthusiasts, replace refined sugar with natural sweeteners like coconut sugar or maple syrup. Stick to high-quality nut flours for the best results.
Here’s a quick guide to ingredient substitutions:
| Original Ingredient | Vegan Substitute | Paleo Substitute |
|---|---|---|
| Eggs | Flax egg or applesauce | N/A |
| Butter | Dairy-free butter | Ghee or coconut oil |
| Sugar | Coconut sugar | Maple syrup |
Experiment with these variations to create a treat that fits your lifestyle. Remember, baking is all about creativity and fun!
Storing and Freezing Your Delicious Cookies
Discover the secrets to storing and freezing your homemade cookies. Proper storage ensures your treats stay fresh, flavorful, and ready to enjoy whenever you crave them. Whether you’re baking for a crowd or saving some for later, these tips will help you preserve the perfect texture and taste.
Best Practices for Airtight Storage
To keep your cookies fresh, store them in an airtight container. This prevents moisture and air from affecting their texture. Place a piece of parchment paper between layers to avoid sticking. At room temperature, your cookies will stay fresh for up to a week.
For longer freshness, consider refrigeration. This is especially useful for recipes with perishable ingredients like butter or eggs. However, refrigerated cookies may lose some of their softness, so let them come to room temperature before serving.
Freezing Guidelines for Long-Lasting Freshness
Freezing is a great way to extend the shelf life of your cookies. Start by pre-freezing dough balls on a baking sheet for about 30 minutes. Once firm, transfer them to a ziplock bag or airtight container. Label the bag with the date to keep track of freshness.
When you’re ready to bake, simply place the frozen dough balls on a baking sheet and bake as usual. You may need to add a minute or two to the baking time. Alternatively, freeze baked cookies for up to six months. Thaw them at room temperature for the best texture.
| Storage Method | Duration | Tips |
|---|---|---|
| Room Temperature | Up to 1 week | Use an airtight container with parchment paper. |
| Refrigeration | Up to 2 weeks | Let cookies come to room temperature before serving. |
| Freezing (Dough) | Up to 3 months | Pre-freeze dough balls before storing. |
| Freezing (Baked) | Up to 6 months | Thaw at room temperature for best results. |
By following these guidelines, you can enjoy your homemade cookies later without compromising their taste or texture. Proper storage ensures every bite is as delicious as the first.
Conclusion
Baking can be both simple and rewarding when you use the right ingredients and techniques. This recipe offers a perfect balance of chewy centers and crisp edges, making it a delightful treat for any occasion. With just a few minutes of preparation, you can create a batch that’s both healthy and satisfying.
From selecting quality almond flour to mastering the art of shaping and baking, this guide has covered all the essentials. Whether you add chocolate chips or experiment with other mix-ins, the possibilities are endless. The tips shared here ensure success, even for beginners.
We encourage you to try this recipe and make it your own. Share your creations with friends and family, and join a community of baking enthusiasts. Explore other ways to use almond flour and enjoy the journey of creative, healthy cooking. Happy baking!